Upload SharePoint tracking list
A list with specific columns is required for tracking to work on SharePoint. Below is the file that contains list template with language licd. Please extract the file and select the relevant file to procced further.
https://apps.clicklearn.com/CLTracking-SharePoint-ListTemplate.zip
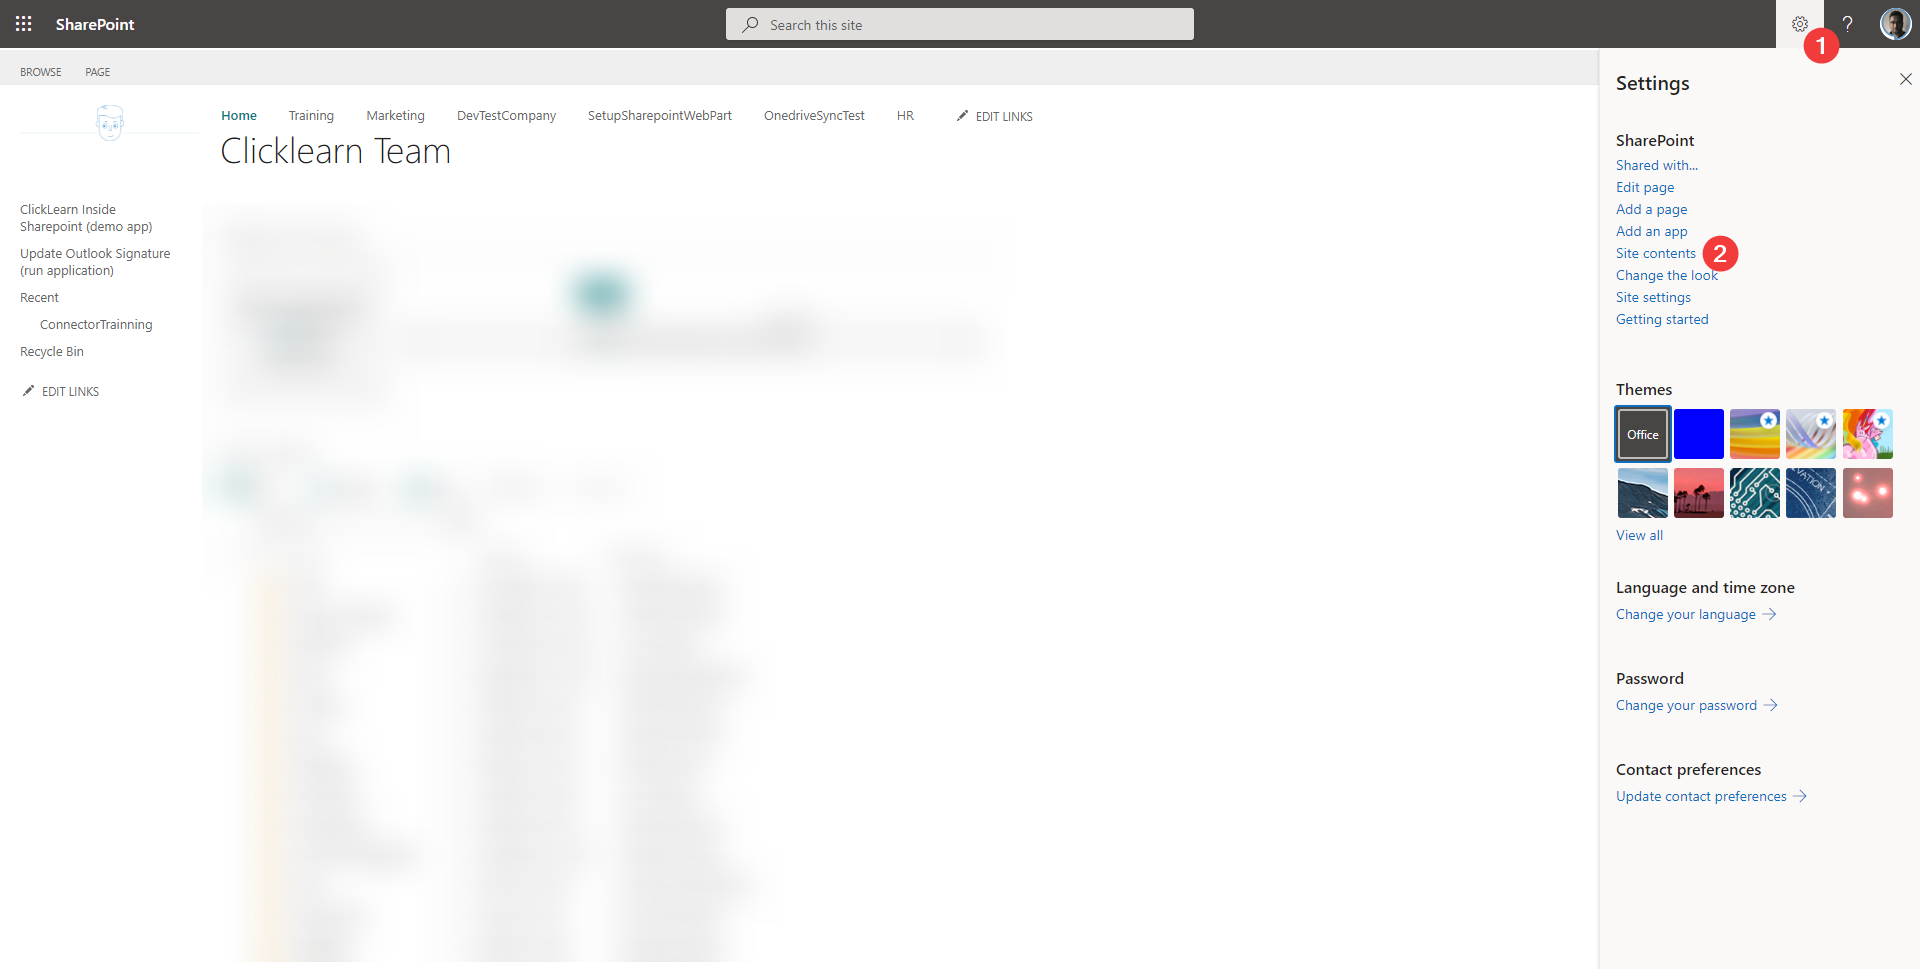
- Click on the settings gear icon.
-
Click on site contents
-
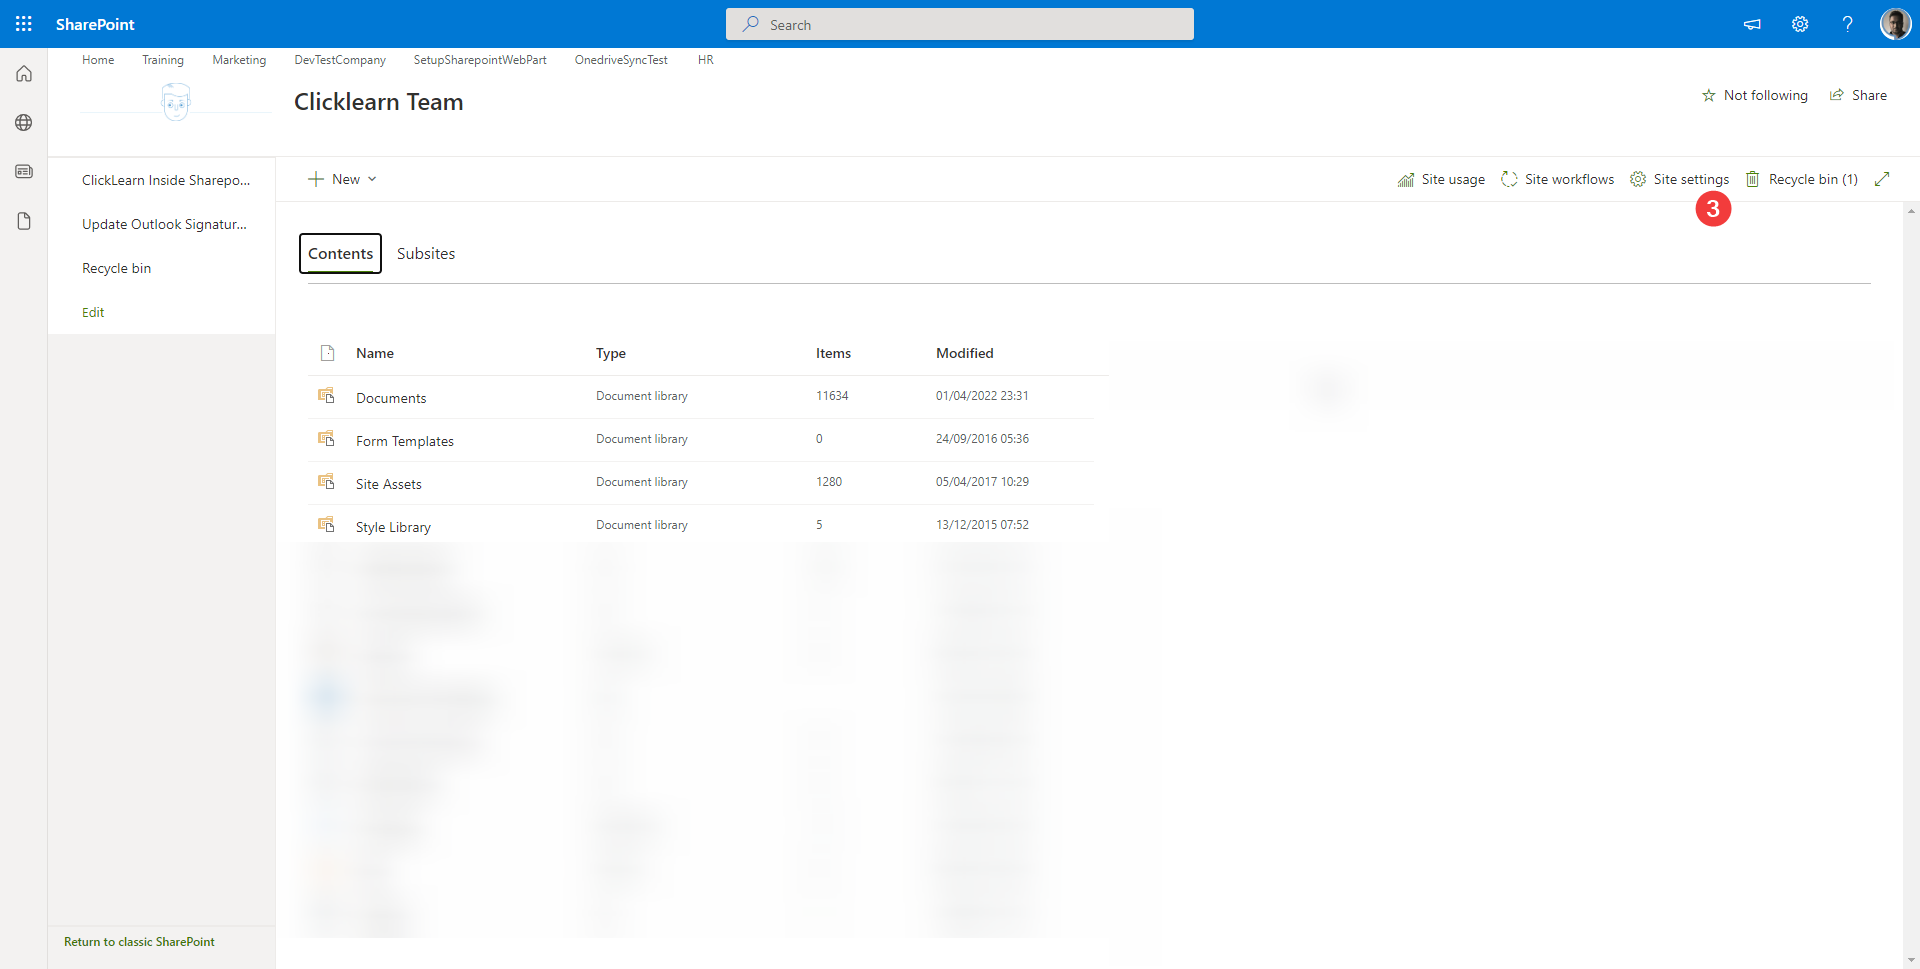
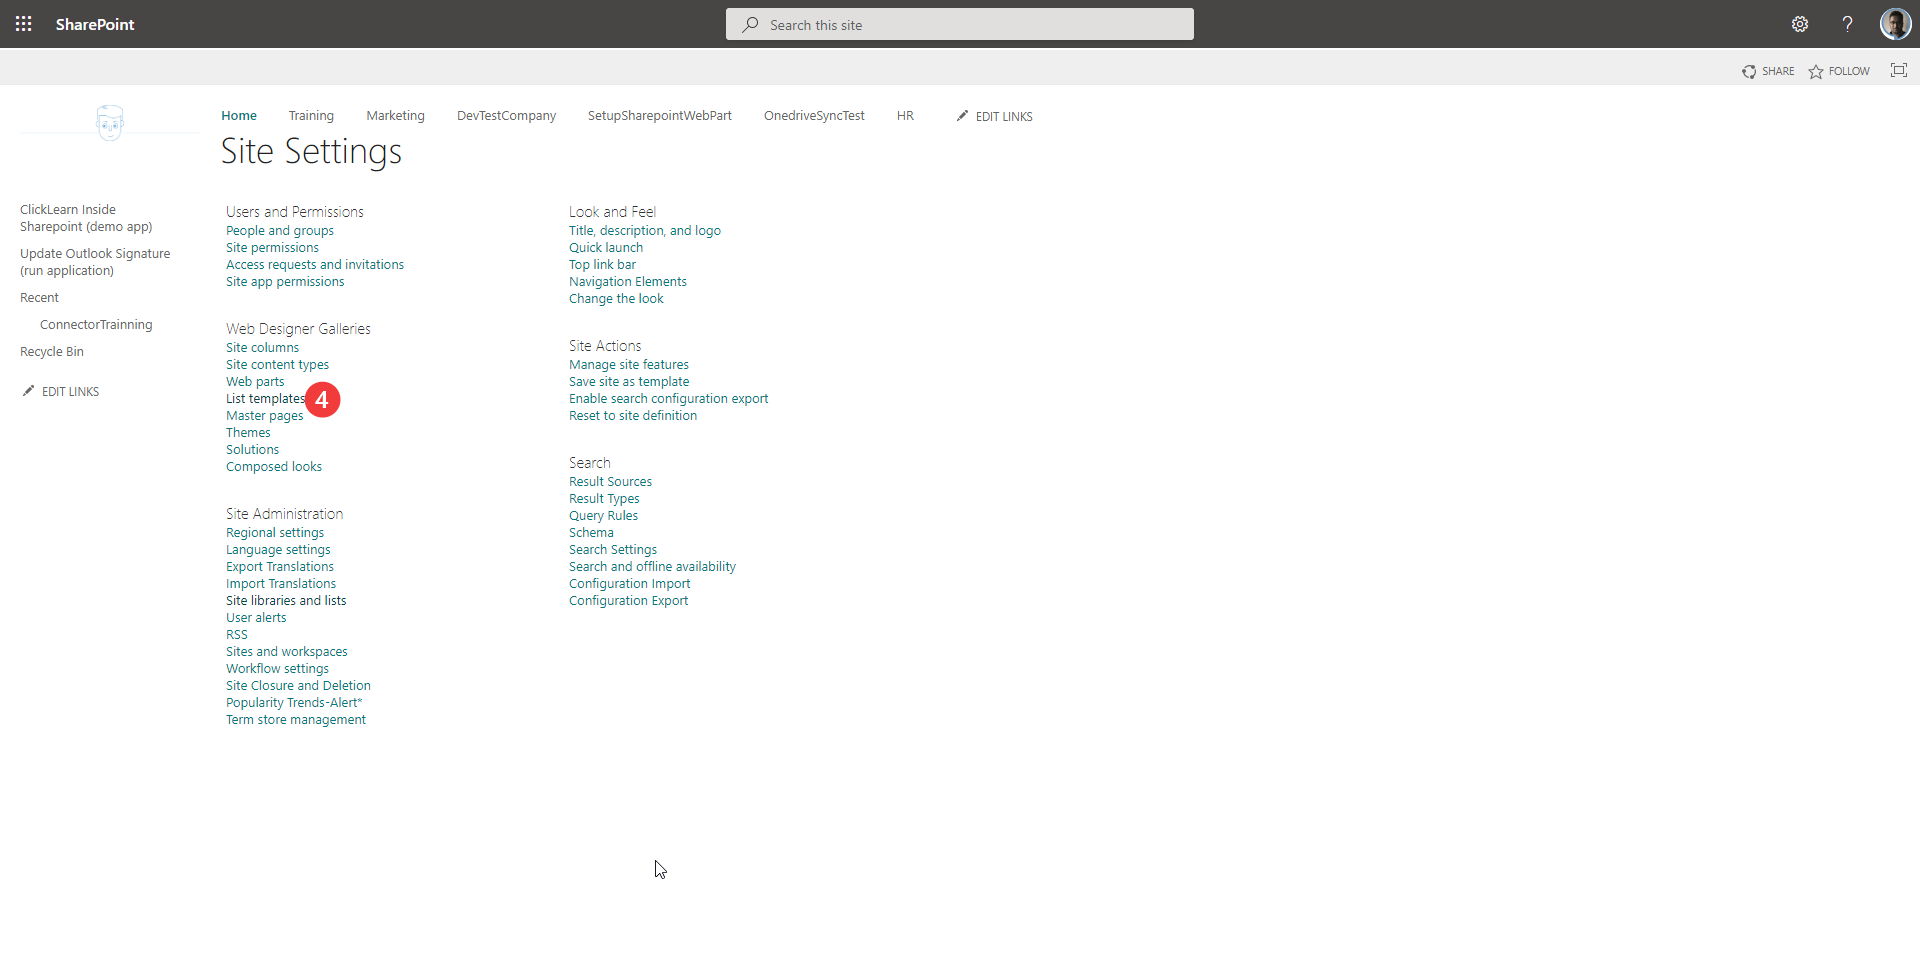
Click on site settings
-
Click on list templates
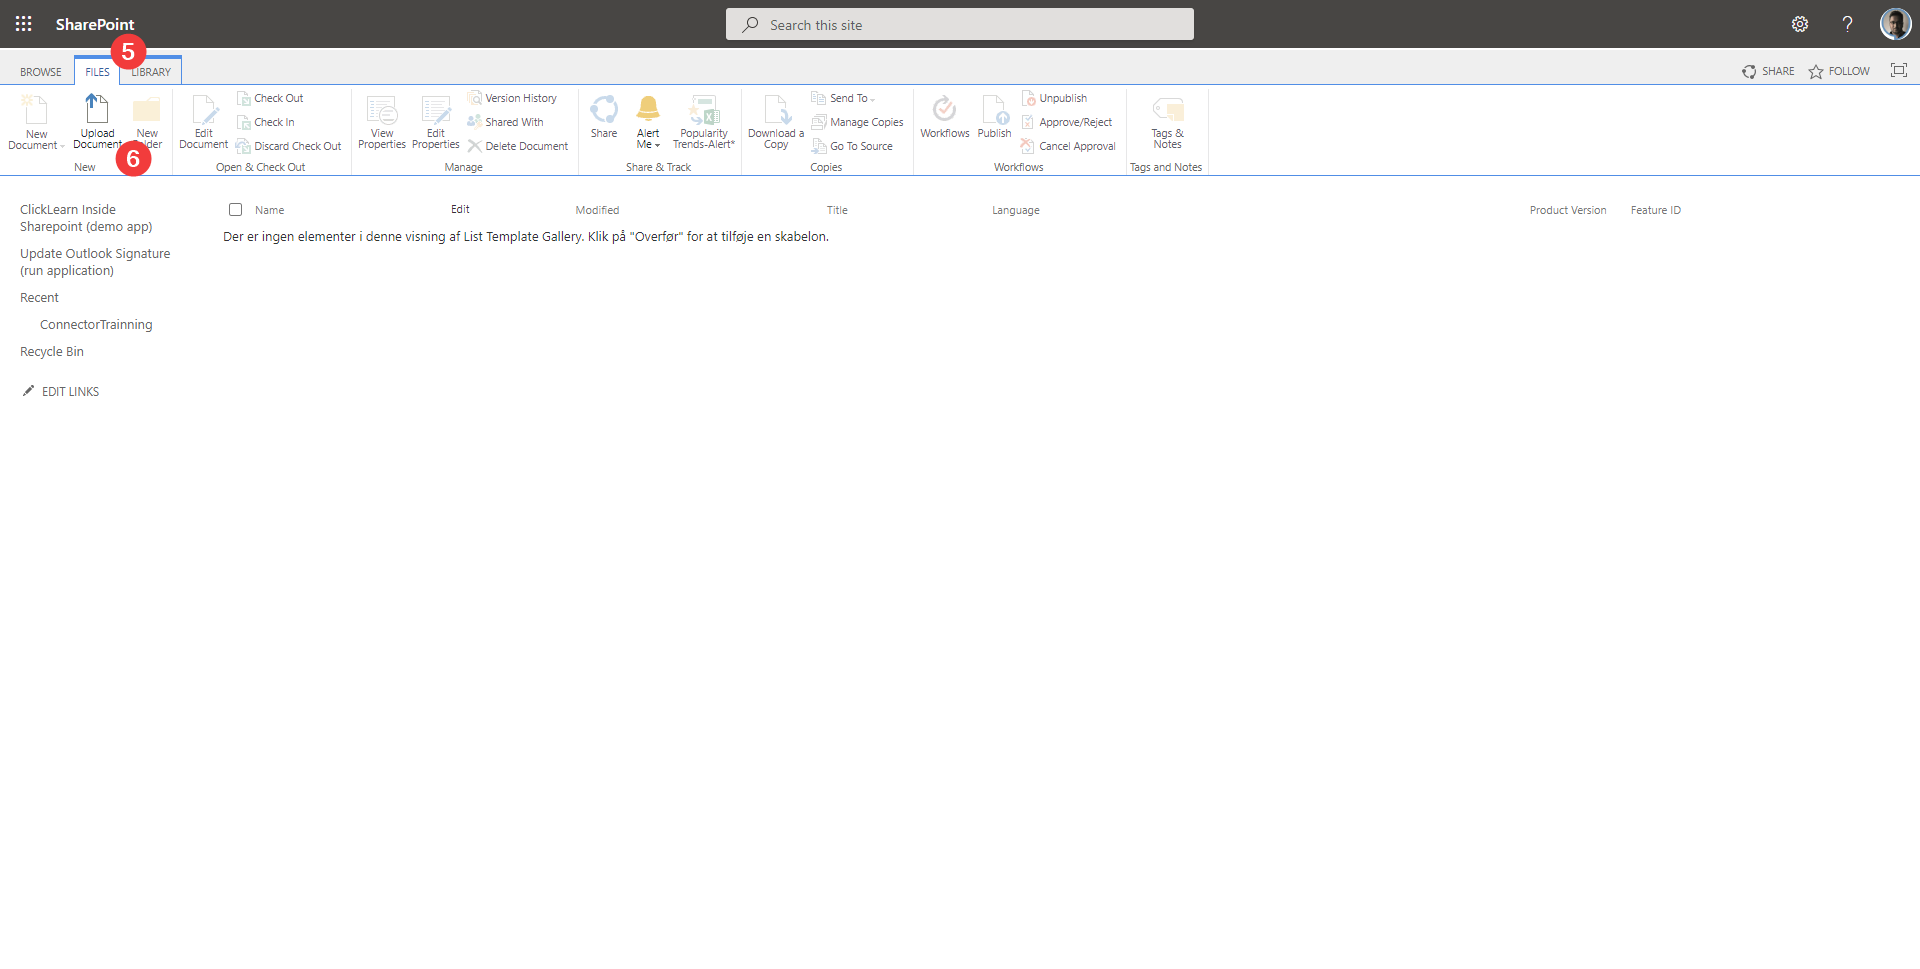
- Click on Files.
-
Click on Upload Document.
-
Select the template file from extracted and click on Ok to upload.

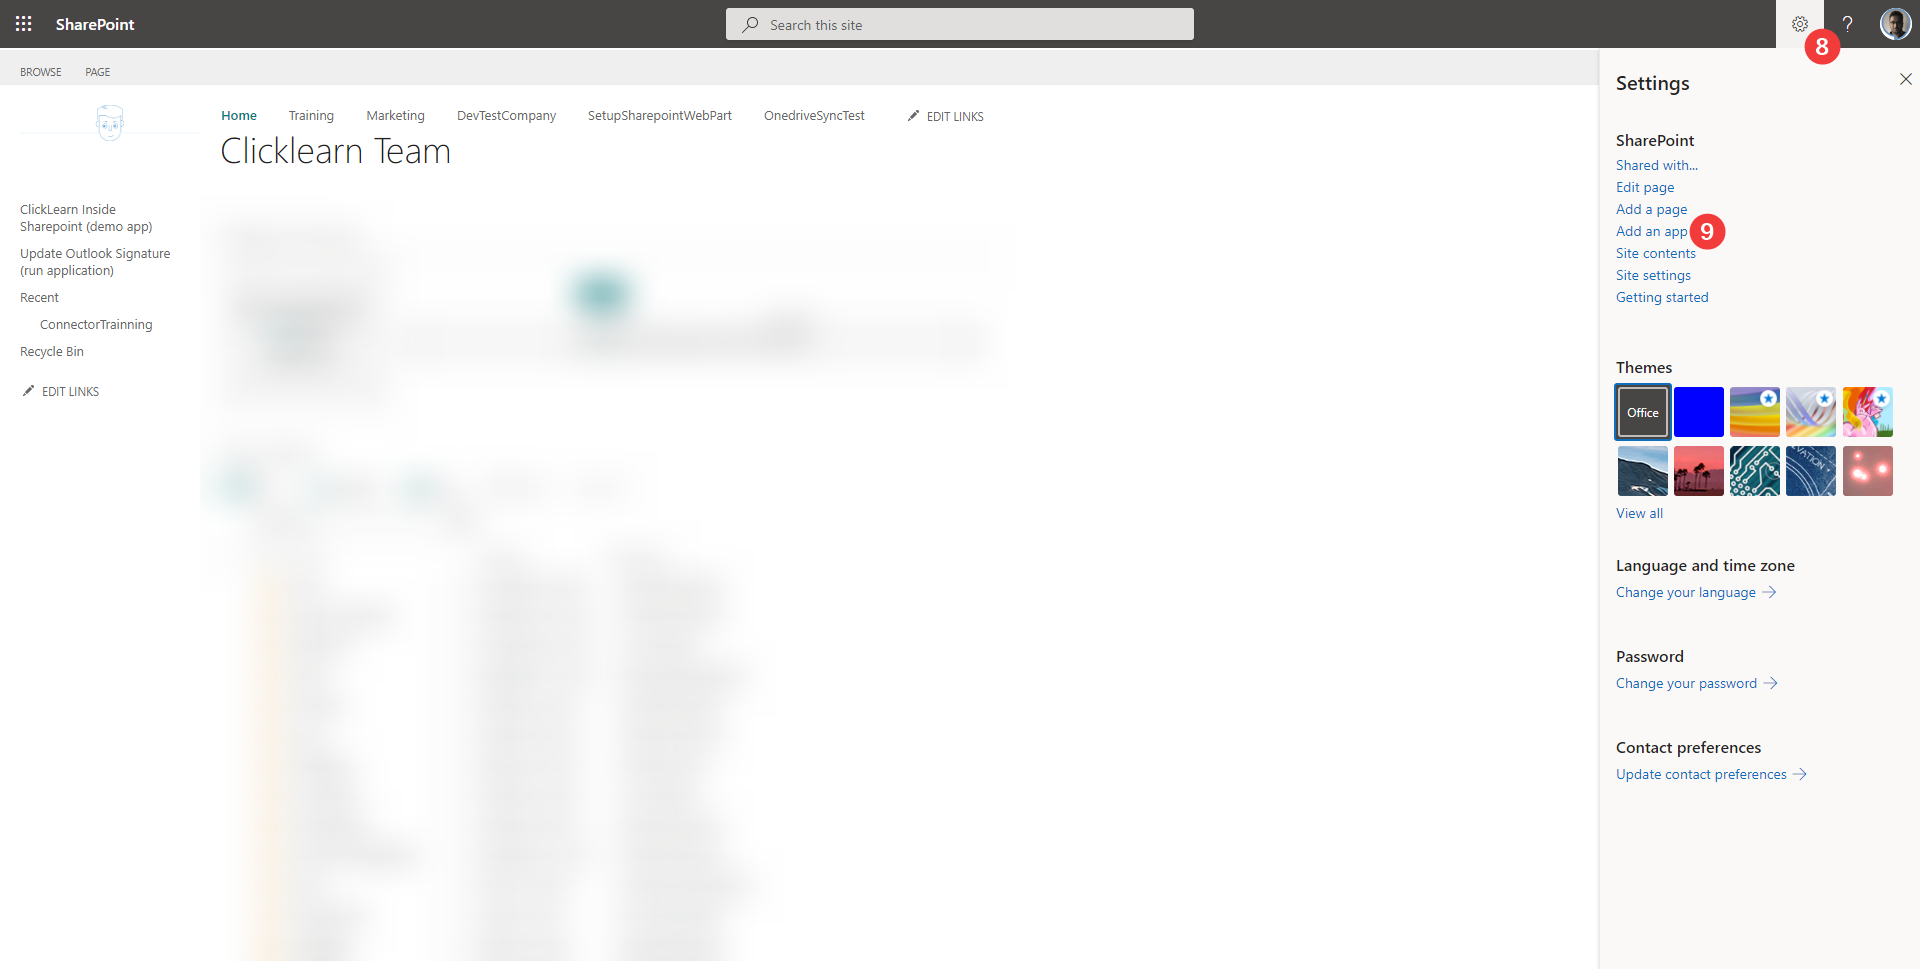
- Click on the settings gear icon.
-
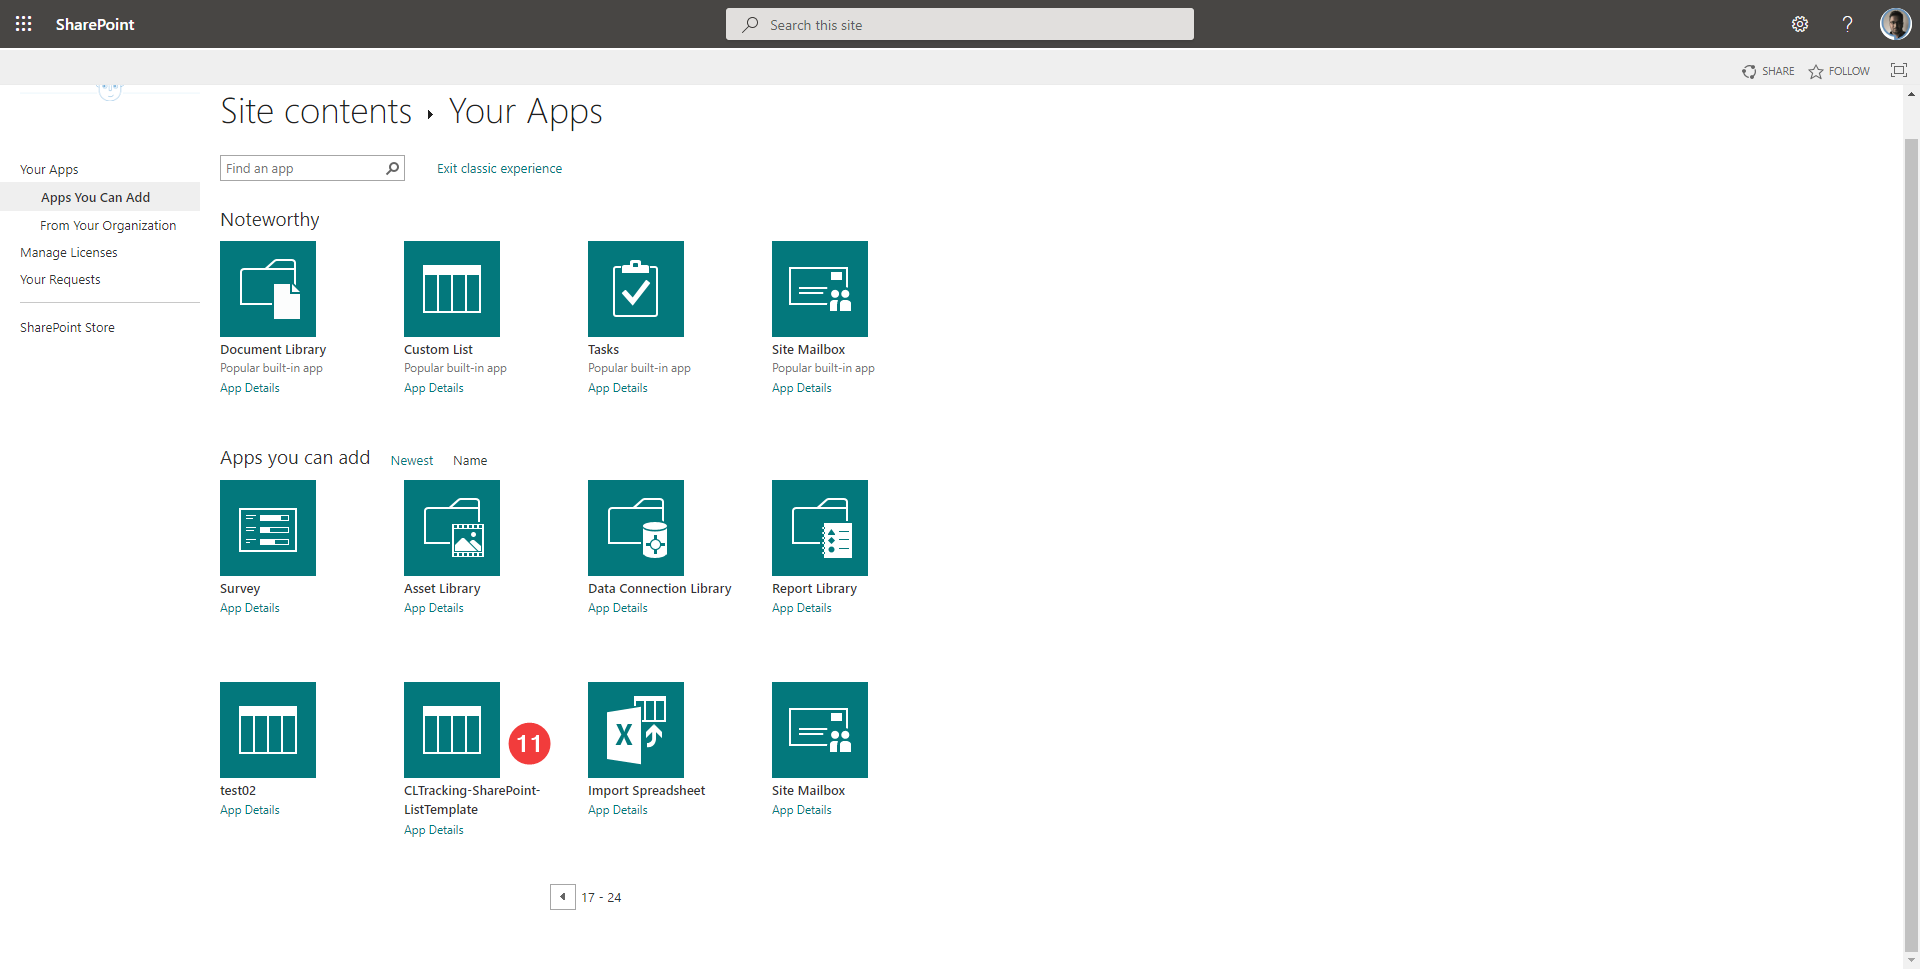
Click on Add an app.
-
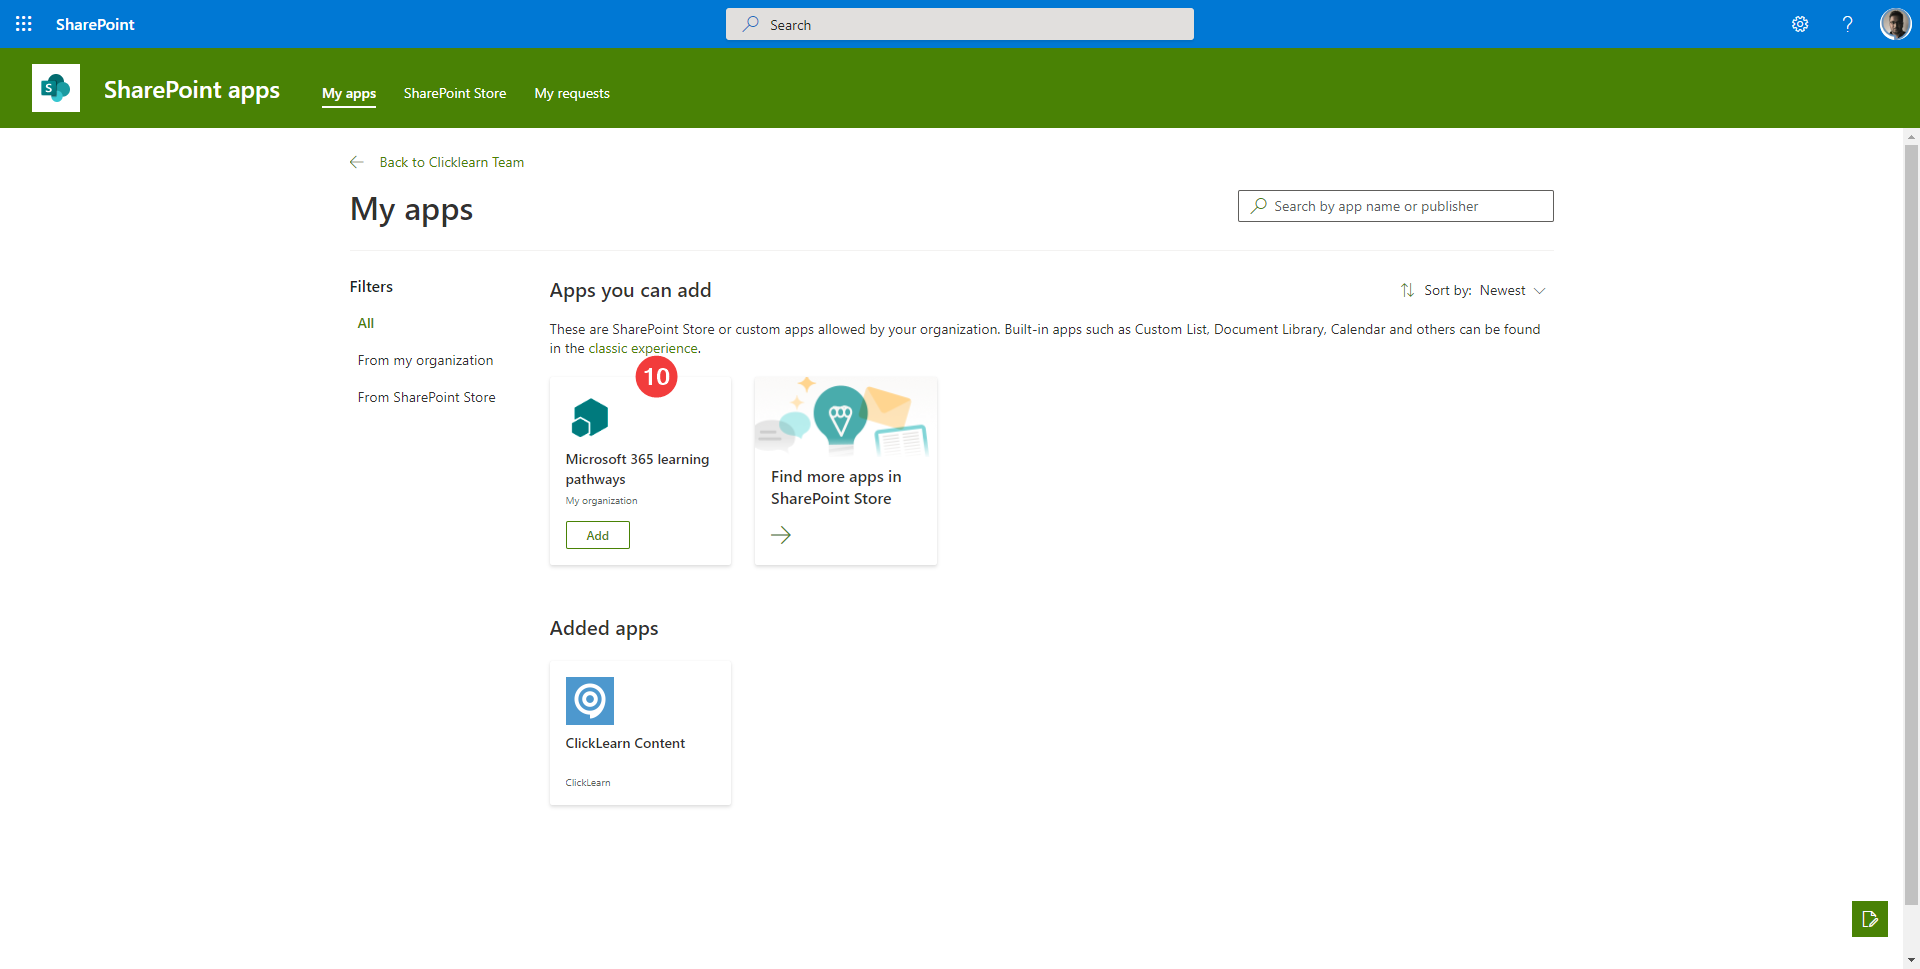
Click on Classic experience.
-
Under apps you can add please toggle to find “CLTracking-SharePoint ListTemplate” and click on it to add custom list.
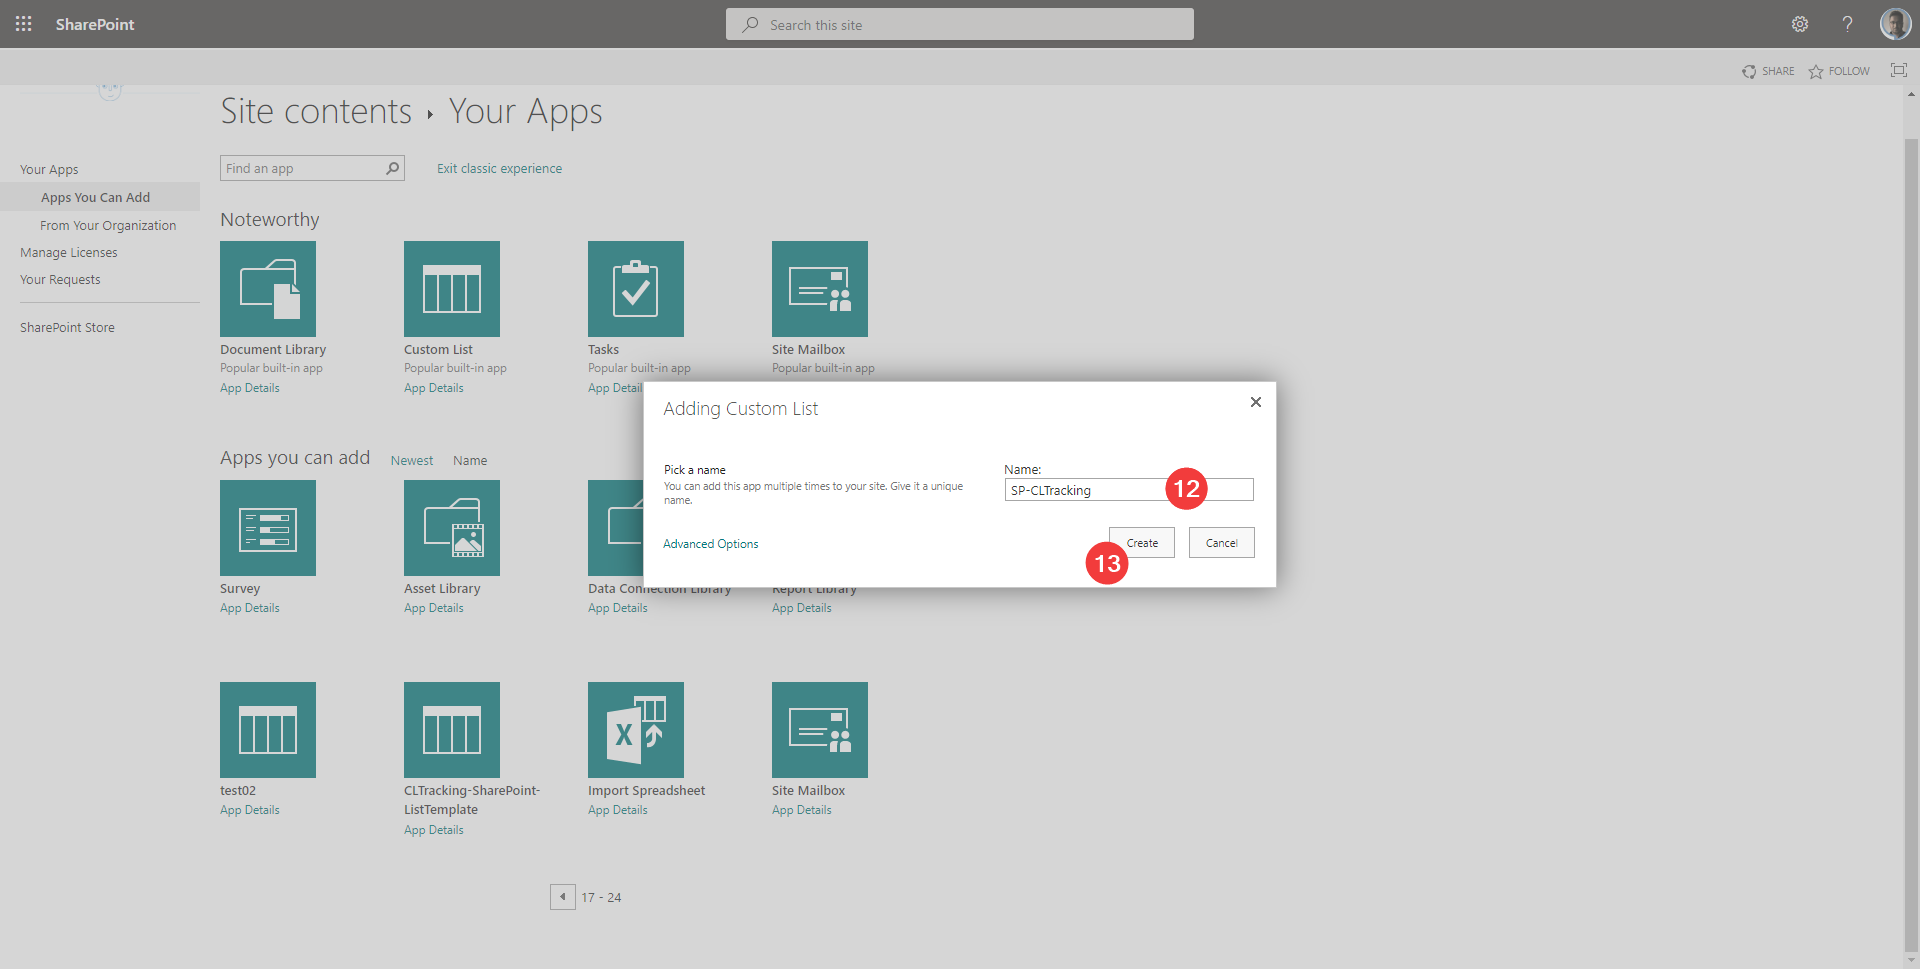
- Fill the name with SP-CLTracking which should match the ID that we had given in studio in the time of producing.
-
Click on the button Create.
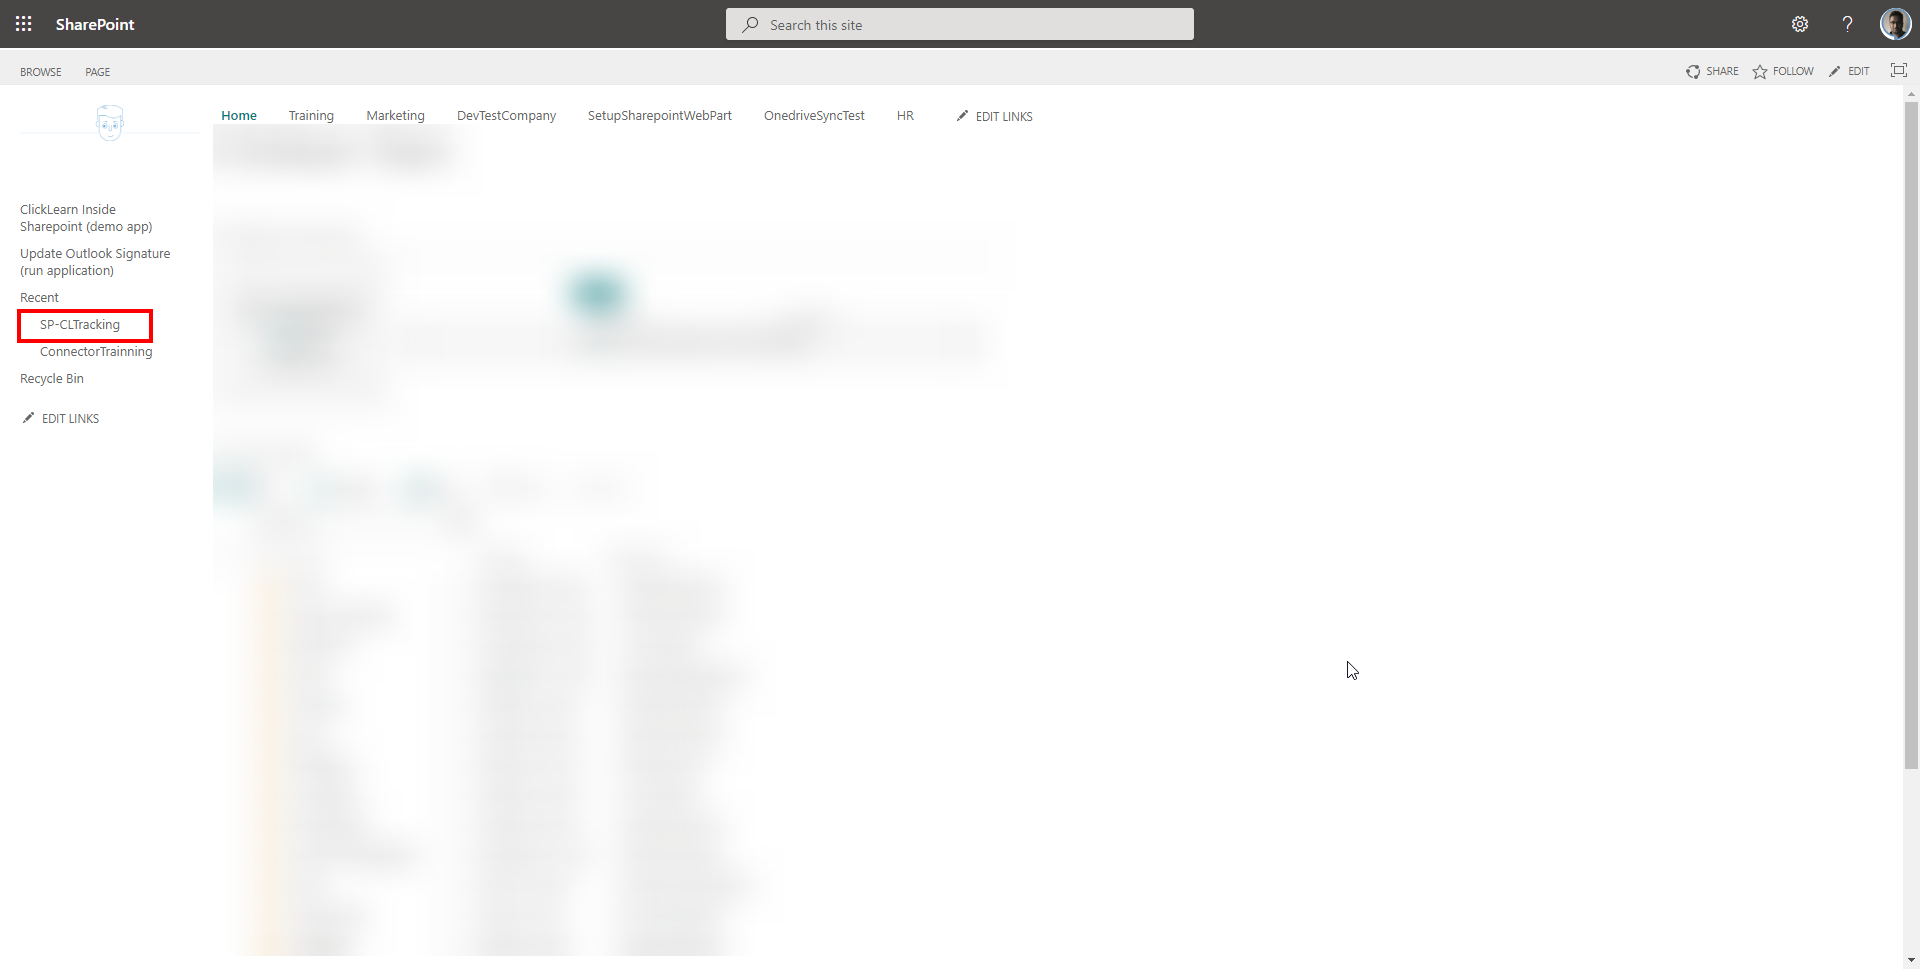
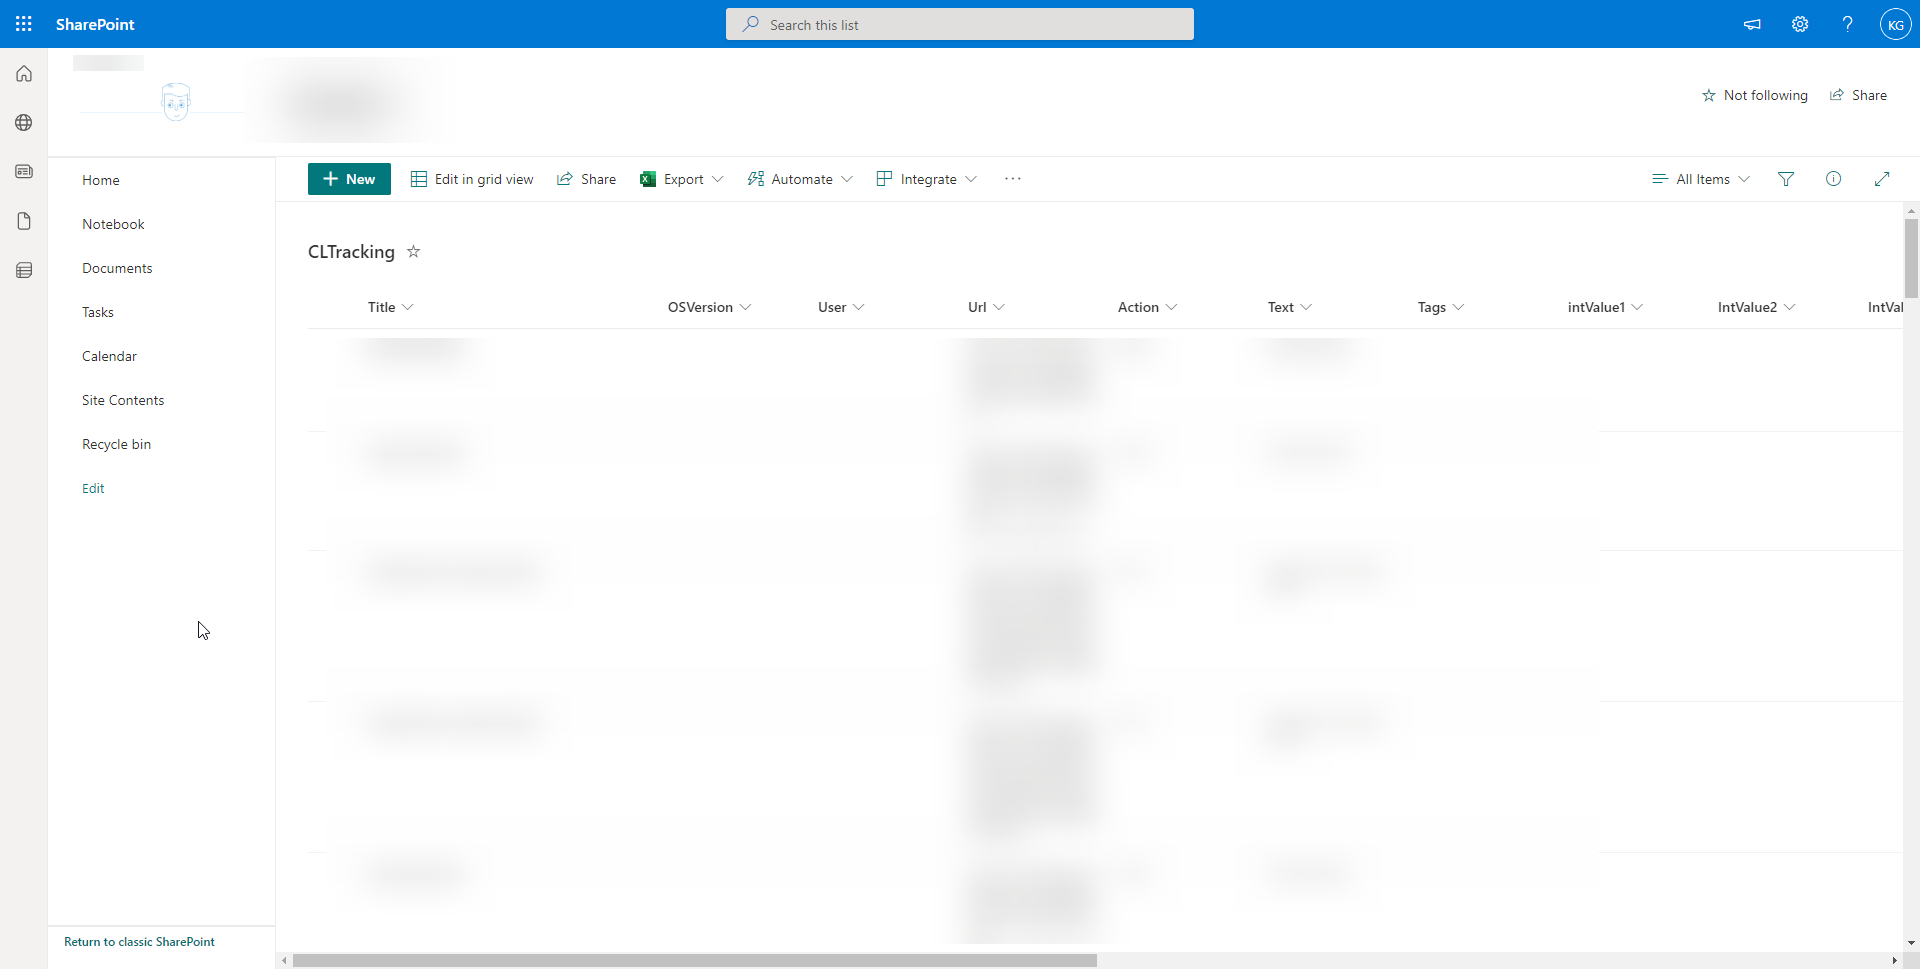
SharePoint tracking
After your aspx content is accessed by users, you can track by clicking on the tracking list. A list with all the tracking details would be populated.